Let's face it - finding new, tasty cookie recipes is difficult. Dare I even say, daunting? It is even worse if you are a health conscious person, because every diet has wiggle room for desserts, but not if they're going to be colossal saturated fat or sugar bombs. This tasty, delicate cookie registers with only about 1.5 grams of fat apiece; that factors in to roughly 8% of your DV for saturated fat - and best of all, not all of the fat comes from butter. Heart healthy canola oil is used in this recipe, too.
That being said, the best part of these is the deep, spicy flavor from ginger and cloves, plus the smoky hint of molasses. Fresh orange and lemon zests perk up the flavor immensely and are most noticeable in the aftertaste; this is accentuated by a good cup of coffee. These are super easy to make, and they're sure to disappear quickly. Might I suggest making a double, if not triple, batch?
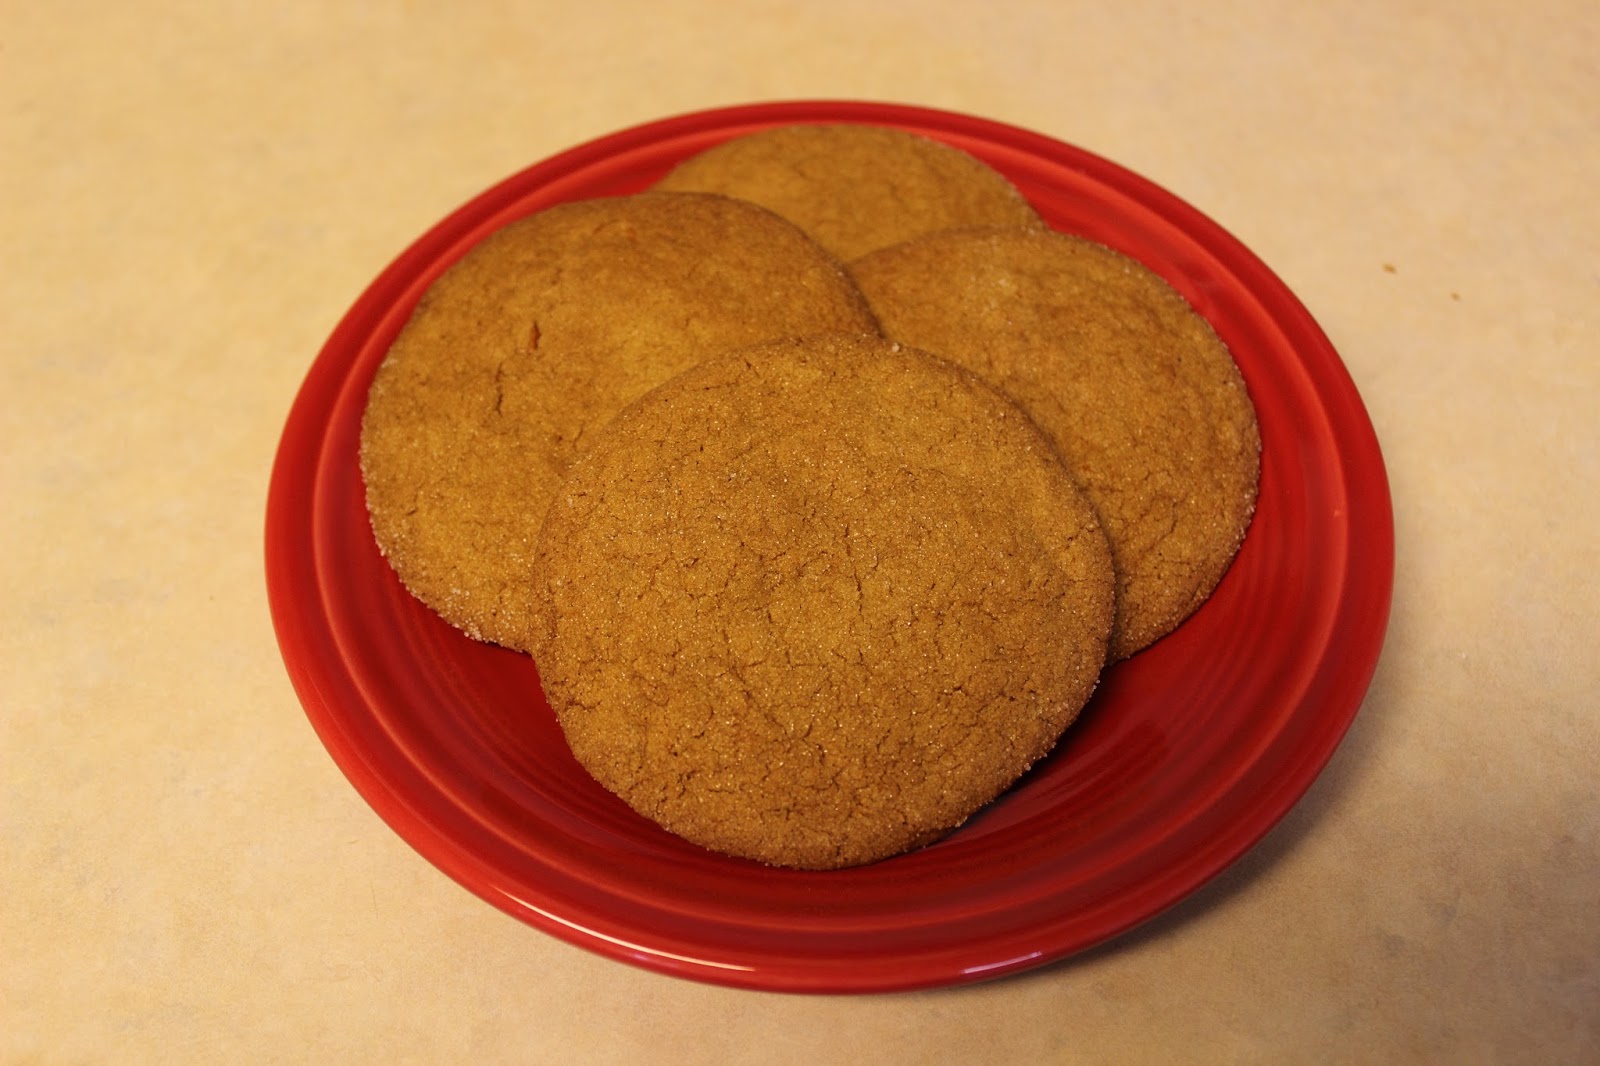
Orange Ginger Wafers
3 tbsp. canola oil (or other neutral flavored oil)
2½ tbsp. unsalted butter, softened
1 large egg
¼ cup light or dark molasses
2½ tsp. pure vanilla extract
2½ tsp. finely grated orange zest
1 tsp. finely grated lemon zest
1 cup sugar
2 cups flour
2 tsp. baking powder
¼ tsp. baking soda
½ tsp. ground ginger
1/8 tsp. ground cloves
¼ tsp. kosher salt
Granulated sugar (for dipping)
In the bowl of a stand mixer fitted with the paddle attachment, combine the sugar, citrus zests, canola oil and butter. Beat on medium speed until all the ingredients are well blended. Add the egg, molasses and vanilla and mix until the mixture is uniform.
Sift together the flour, baking powder, soda, ginger, cloves and salt. Gradually beat the flour mixture into the molasses mixture until everything is well blended and smooth. At this point, cover the bowl with plastic wrap or aluminum foil and refrigerate for at least 6 hours, but overnight is best.
When ready to bake, preheat the oven to 375 degrees. Grease two cookie sheets with nonstick cooking spray.
Using a small cookie scoop, roll the dough into generous ¾" balls. Space about 2¼" apart on the sheets. Lightly oil the bottom of a large, flat-bottomed glass. Very lightly dip the glass into granulated sugar, then flatten the dough balls until about ¼" thick, dipping the glass into the sugar before flattening each cookie.
Wipe any buildup from the glass and re-oil as necessary. Bake, one sheet at a time, until the cookies are faintly tinged with brown and slightly darker at the edges, between 8 and 11 minutes; rotate the sheet halfway through baking for even browning.
Remove the sheet to a rack and let stand until the cookies firm slightly - they tend to stick to the sheets a little if you try to take them off right away. Transfer the cookies to racks to cool. Make sure to let the cookie sheet cool between batches, or else the cookies will spread too much.
Makes about 4½ dozen 2½" wafers


